A decorative holiday pillow spreads the spirit of the season. Here's 5 steps to making it great.
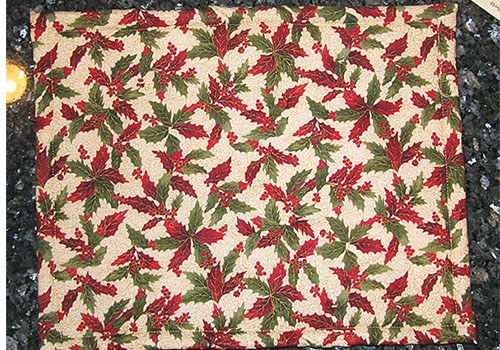
1. Decide what size pillow you’ll need to create. Then, select a design that will mesh well with the pillow size.
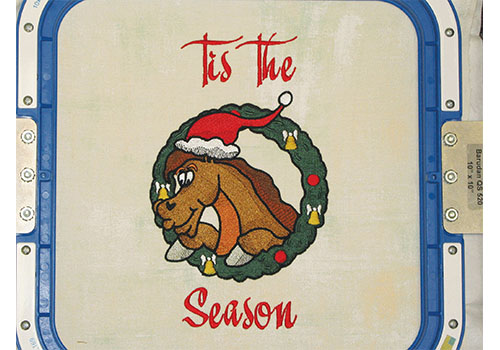
2. Make sure the fabric will fit snugly over the front of the form. For the front of the pillow, which is where the design will be embroidered, the fabric should be exactly the size of the pillow form (the stuffing that will be inside the pillow). Hoop and embroider the fabric.
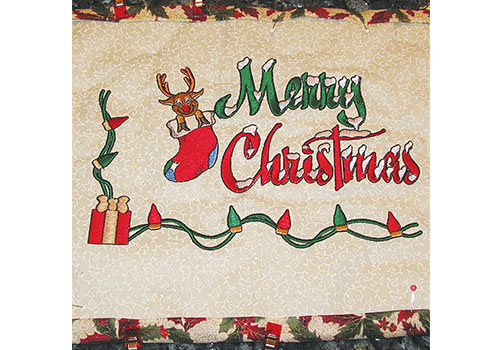
3. Cut the fabric for the back in two sections. Leave an overlap of 3 inches. Some instructions will suggest that 1 inch to 1 ½ inches is enough overlap, but 3 inches is recommended. Hem the edge that will be the slit for taking the pillow form in and out of the case. Both of the sections combined should equal the dimensions of the front fabric.
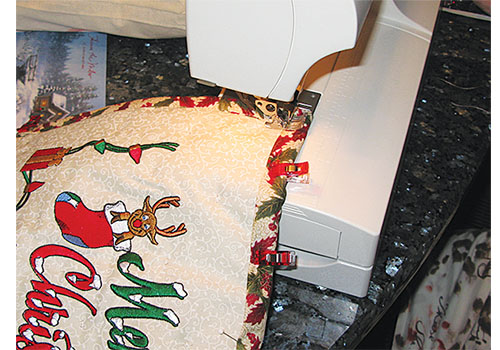
4. Ensure the front sides of both the embroidered piece and the fabric for the pillow’s back face each other once the design is embroidered and the fabric has been removed from the hoop and you’re preparing to sew the pillow together. Then, sew the edges of all sections together. Use back stitches to add extra support to the corners.
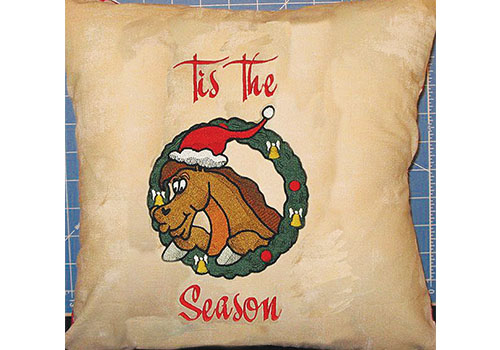
5. Pull the fabric inside out so the embroidery is on the outside of the pillow. Insert the form into your decorative and comfy holiday pillow.
Tip
Keep in mind that one pillow form can be used with a variety of cases. If you’re creating pillows to sell at craft fairs or bazaars, or online as a holiday gift, consider creating a number of cases for the same form. This will allow those who purchase the pillow to change out their cases to suit their mood or their decorative scheme. Adding more cases also allows you to charge a higher price for the item.
All embroidery and instructions provided by Evan West of Franklin, TN-based Wild West Designs.

Product Hub
Find the latest in quality products, must-know trends and fresh ideas for upcoming end-buyer campaigns.


