July 29, 2019
How To Defibrillate Your Shirts
There are several methods for keeping fabric fibers from poking through a print.
Customers are demanding soft-hand shirts and prints, but all that softness can make a screen printer’s job harder. One challenge when working with 100% cotton, particularly of the softer variety, is fibrillation – when raised fibers in the fabric poke through your ink, giving the illusion of a rough or washed-out texture on your print.
The simple answer to this problem is to avoid fabrics that cause fibrillation (blends don’t typically have this issue, and it’s nonexistent with synthetics), but life and screen printing are rarely that simple. Still, there are methods we can use to avoid fibrillation in the printing process.

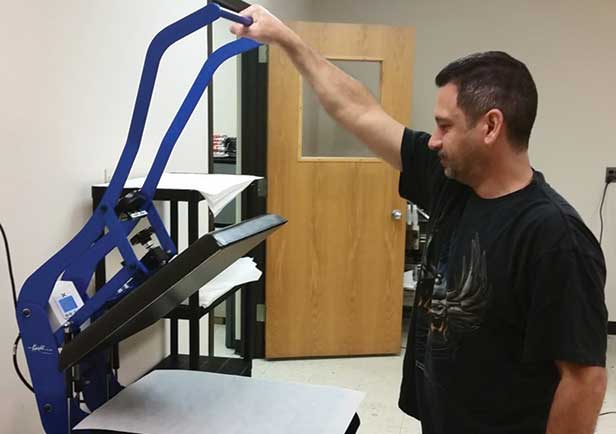
Fibrillation can sometimes be controlled by simply heat pressing a garment before printing. Photo courtesy of Equipment Zone.

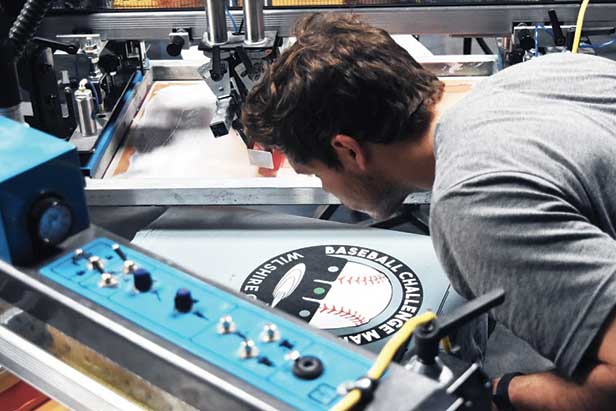
Adding a layer of clear ink before or after printing the colors can lock down fibrillating fibers. Photo courtesy of Oklahoma Shirt Company.
The artwork: Large blocks of color can accentuate fibrillation in your print. By creating graphics with thinner lines and using halftone dots instead of blocks of color, you can disguise fibrillation. Using the color of the garment as part of the graphic is also a great trick to hide the fibers. But many times it will be our customer’s artwork we’re dealing with, so other tricks may need to be employed.
Pre-press: If a particular garment is causing you fits, a quick pass on a heat press before loading on your manual or automatic press can resolve this issue. If you’re restacking the garments before printing, place them face to face. In other words, a pressed front stacked against a pressed front, and so on. For best results take the shirt directly from the heat press and load on your printer. This is likely best accomplished as a two-person operation. Press time can be as little as 5 seconds with medium to heavy pressure.
The theory here is that you can lay down the fibers before printing, and then mat them down with the ink on press. Of course, as with all new techniques, wash testing will be required before doing a full print run.
On the press: On either a manual or automatic press, you can have a mat-down screen as your first press. This screen will ideally be coated with emulsion and taped just like any other screen in the rotation. You’ll need ink in the screen and a hard squeegee. Just as if you’re doing a regular print, this screen will lay fibers flat before you print.
You can also print-flash-print the garment even if no underbase is required. This should keep fibers flat against the surface of the fabric. It’s an extra step if you don’t need an underbase, but will aid in your finished print quality.
Here’s another trick you can use after you’ve printed the colors (but before you’ve removed the shirt from the platen): Flash the finished print and follow with a clear overlay print to hold the fibers down. If you print through a high mesh count screen, you’ll avoid making the finished graphic appear glossy from the clear cover print.
Some screen printers reverse this process and print the clear first, flash it and print the colors on top; experiment to figure out which method works best for you. On the plus side, you can use this same clear screen to try as a print first, flash, then color, or reverse the process and print colors, flash, then clear. Both shirts go to the washer for testing.
Whenever you add new garments to your line of products, do a few test prints first. Afterward, wash and dry the garments a few times. Some fibrillation will be more profound after washing, so this is an important test to see results through the lifetime of a garment.
Terry Combs, a 36-year veteran of the garment-printing industry, is currently in sales and training with Equipment Zone, working from Scottsdale, AZ. His books, Screen Printing: A Practical Guide and Direct-to-Garment: A Practical Guide, are available on Amazon.