October 03, 2016
How to Master A Border Design
Add some style to the hems of clothing or home décor with an embroidered border.
When a customer comes to your shop asking for a border design, you don’t have to turn them away – even if you don’t have the luxury of a multi-head machine with a large border frame. You can still create elegant edging on a finished product following a few simple guidelines.

Border designs are often used on home décor like curtains, drapes or linens, and clothing like the hem of a skirt or jacket. Your customer may come in with a specific design in mind, or turn to you for ideas. Stock companies like Dakota Collectibles, Embroidery Library, Balboa Embroidery Designs and Urban Threads all offer border design selections in their catalogs and/or online libraries. Many borders have matching corners that can be incorporated into the run. Others are self-contained, appearing like picture frames, for use around personalized copy. Very often, a border design will come in different sizes for those looking to produce matching items.
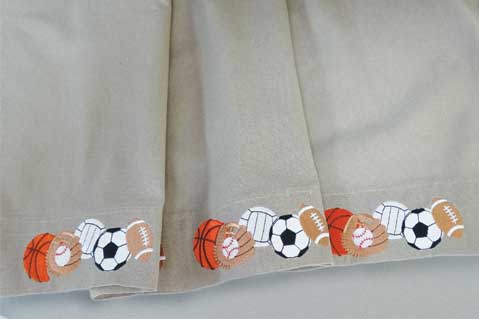
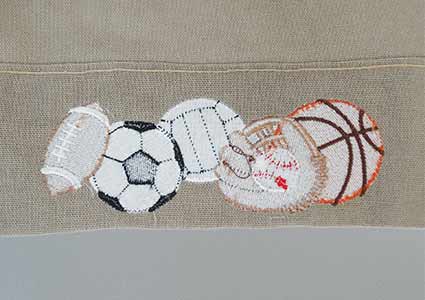
Once you’ve chosen an attractive border and have the file, you’ll need tearaway stick-on backing with pressure-sensitive adhesive and release paper, a hoop large enough for the design and, of course, the item to be embroidered. Here, I’ll illustrate how to add personalization with a design of various sports balls to curtains for a child’s room. Take the following steps to replicate the finished look.
1. Cut a piece of stick-on backing larger than the hoop size. Remove the release paper and set it aside.
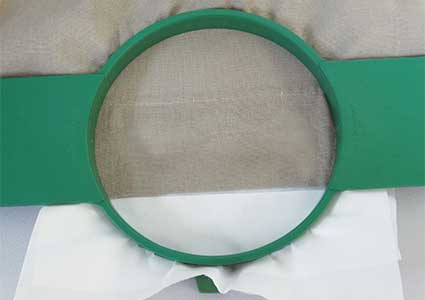
2. Adhere one-half to two-thirds of the backing to the back side of the curtain along the hem, leaving the remainder of the backing exposed.
3. Using the release paper, cover the exposed sticky side of the backing, so the surplus doesn’t gum up the hoop.
4. Hoop the curtain with the hemmed edge lying across the middle of the hoop. Tip: Use the smallest hoop possible to keep the design stable.

5. Embroider the design.
6. Remove the curtain from the hoop and tear off the excess backing to give the curtain a clean look. Since these curtains are a stable, woven fabric, it’s safe to use tearaway.

7. Measure and space out your border design, repeating the process above until the embroidery on the hem is complete. Tip: Use the bottom edge of the curtain and the stitched hemline (usually 2 to 3 inches) as your guide.
Tearaway Tips
Once you’ve mastered tearaway stick-on backing, you’ll no doubt find it useful in other applications. Available in pre-cut sizes and rolls, this medium-weight (1.5-oz.) backing features a pressure-sensitive adhesive with release paper on one side. Not only is it good for hard-to-hoop areas, such as curtain hems, it also works for smaller items such as pockets, cuffs, socks, belts and collars. It may also be a good choice for sensitive fabrics like velour or brushed velvet to avoid hoop burns. Remember, to warrant the use of tearaway backing, the item being embroidered should be pretty stable on its own.