October 03, 2016
How to Create a Seven Color Print
Make your artwork stand out.

1. Design artwork and create separations.
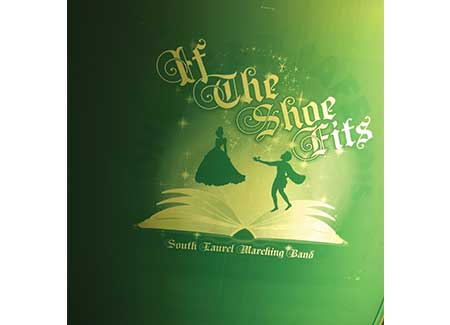
This particular artwork was created in Adobe Photoshop, but any graphics program will be suitable for this step. Ken’s Custom Tees used Wacom Cintiqs to draw and create the graphic design.
2. Print films.
For this job, the films were printed by an Epson printer onto waterproof film seps; then, they were attached to carrier sheets for the shop’s Tri-lock registration system.
3. Expose the screens.
Screens for each color in the design need to be exposed and properly taped.

4. Use the proper size mesh.
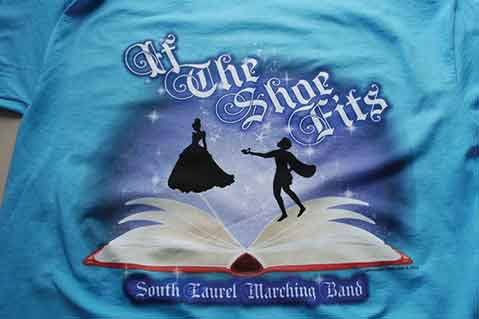
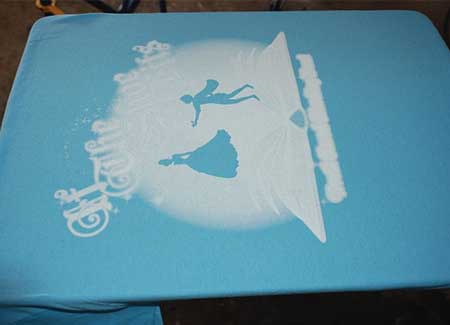
A 230 mesh was used for this job. The first color printed was underbase white (one stroke), then flashed for four seconds on a quartz flash unit. The second color was black (one stroke), the third color was royal blue (one stroke), the fourth color was scarlet red (two strokes) and the fifth color was lemon yellow (two strokes). The sixth color was top white (one stroke) to soften the colors, and was flashed again for four seconds.

5. Add a little extra pop of color.
Fluorescent purple mixed with 20% curable reducer is the last color and adds a purple tint on top of the blue print. The extra color gives the entire print a more magical look, which echoes the theme of the event and the shirt.
TIP:
Don’t be afraid to tweak the design or change things while the design is being printed. In this case, fluorescent purple was added while the design was in process, when Ken’s Custom Tees realized that the extra color would give a more magical look to the design. Part of designing a shirt that works is taking into account the theme and how the design and the look for the final print will echo that theme. In this case, Ken’s Custom Tees added an extra color, which gave the design that extra bit of eye-catching pop it needed.
All screen print and instructions provided by Ken Scott, Ken’s Custom Tees, London, KY. For additional pictures of each step, visit www.kenscustomtees.com.