October 04, 2019
Hooping Do's And Don'ts
Try these techniques for speedy embroidery hooping.
Liz Beavers, embroidery territory manager with Dallas-based Graphic Solutions Group, educates embroiderers throughout the Midwest on equipment, tools and techniques. While each shop has its unique challenges and areas for improvement, Beavers finds there are a few common processes that cause frequent issues in an embroidery shop. Hooping, an integral step in any order, is one of those issues, and it must be handled with care and attention. Beavers shares some hooping best practices.
Do use proper lighting. Many shops have lighting units installed in high-ceilinged warehouses, which can create shadows on the ground level. Operators must be able to see clearly when setting up machines for embroidery – especially on popular performance fabrics that have sheer and textured features. Make sure you have additional strip lighting or lower the lighting on chains and use long bulbs to support your team’s ability to hoop each garment accurately.
Do store materials neatly. To increase the speed of setup and embroidery, keep your hoops and backing in a storage shelf under the embroidery table. This way, operators don’t have to walk away from their stations to get the materials they need for production.

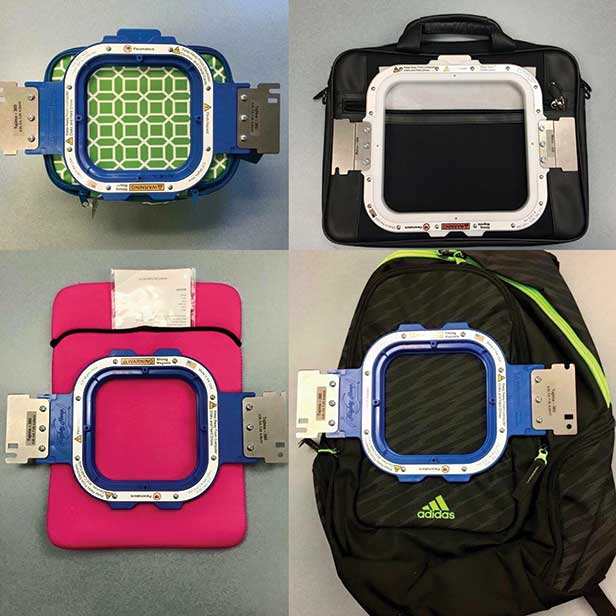
Consider using hooping aids to ensure precise placement.
Do use hooping aids and templates. Beavers suggests using templates and a hooping aid like Hoop Master, to enable precise placement of the hoop and design. “As embroiderers, the biggest obstacle is centering and straightening the hoop order after order,” she says. “These hooping aids have a numeric system for men’s, women’s and children’s garments so operators can put the hoop in the proper place each time, which is especially important on repeat orders.” Templates come in handy too, because no matter which operator is working on the job or what garment is being decorated, every measurement is exact.
Do stretch cautiously. Once the hoop is set, the fabric should be tight like a drum around the frame. To test, hit the fabric with your thumb; it should bounce back. If you need to tighten the fabric, stretch cautiously from the top and bottom, with the natural movement of the fibers. Don’t stretch left to right, as this can cause the fabric to stretch out permanently.
Do use the right backing. Since performance and athleisure clothing are all the rage, embroiderers must face the challenge of decorating on stretchy, moisture-management fabrics. Use backing that’s made for these types of fabrics. “If you have a thin 2-ounce fabric and your client wants a detailed 5-ounce design and logo, you definitely need the support of proper backing material,” Beavers says.
Do clean up your station. When you’re done with embroidery, the cleanup – removing backing, cutting away fine threads and performing any other finishing touches – shouldn’t be done at your hooping table. Complete all production first, then stock garments on a rolling cart and take them to another table to complete the process out of the way.
Don’t skimp on supplies. Buying cheap backing just to save money up front will always end up costing more because you have to use more sheets to achieve the same result.
Don’t run the machine on top speed. “Just because a machine can do 1,000 to 1,200 threads per minute doesn’t mean it should,” Beavers says. “I like to think of it like my car: Sure, it can reach 180 miles per hour, but I never want to drive for any period of time at that maximum speed.”
Don’t overuse temporary spray adhesive. Spray adhesive can be helpful when hooping a thick or nontraditional item like a dog collar or backpack. For basic garments like shirts, it’s not necessary to use a spray adhesive when hooping. “It’s an extra step and it gums up the needles, causing you to change the needles more often and damaging the machine,” Beavers says.
Andy Vantrease is a contributing writer for Wearables.