October 17, 2019
How to Combine Embroidery & Heat Printing
Adding a digital transfer to embroidery helps you save money by reducing stitch counts, while still resulting in a vibrant, full-color design.
Not every shop has the capacity to continuously crank out detailed, full-color embroidered logos that require tens of thousands of stitches each. Whether your customer is eager to try something new or you want to take a load off your machines and staff, combining embroidery with a digital transfer is an easy way to achieve the same look with way fewer stitches.
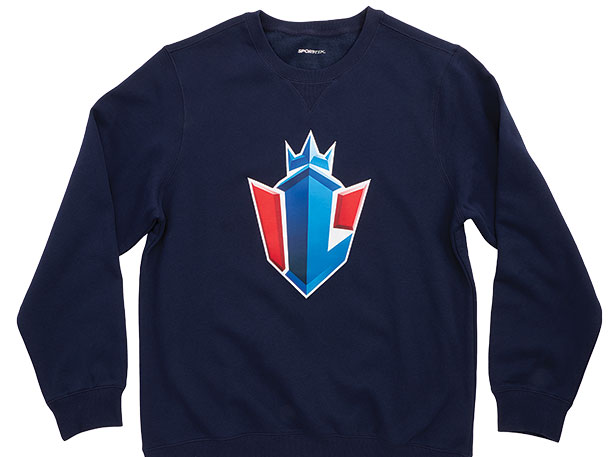
Here, Debra Romalia, vice president of marketing at GroupeSTAHL, explains this multimedia process for vibrant, eye-catching designs.
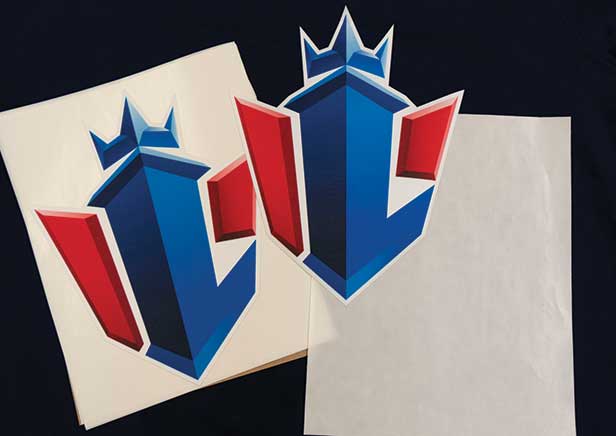
1. Gather & Prepare Your Materials: For this technique, you’ll need a polyester garment, embroidery machine, heat press, embroidery hoop, backing, cover sheet and sublimated twill, digitally printed with your design. Program your embroidery machine with the sew file, and make sure the edges of your transfer design are clean, smooth and ready for production.
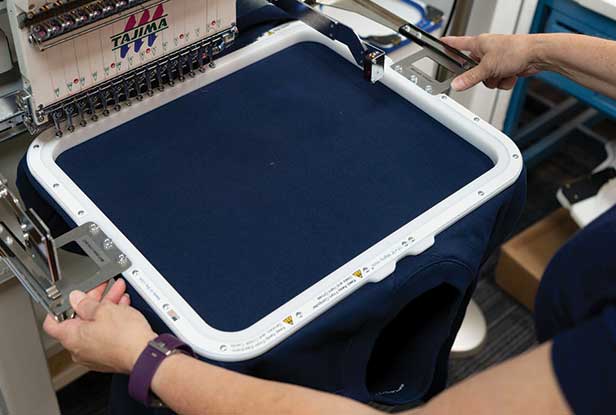
2. Measure the Design & Apply the Hoop: Hoop your garment and mark the center of the design using a template for accuracy. Cut the backing to stabilize the design on your garment and place the hooped garment onto the machine, lining up the machine with the center of the design. Then trace the design to make sure it clears the hoop and is properly placed on the garment before sewing.
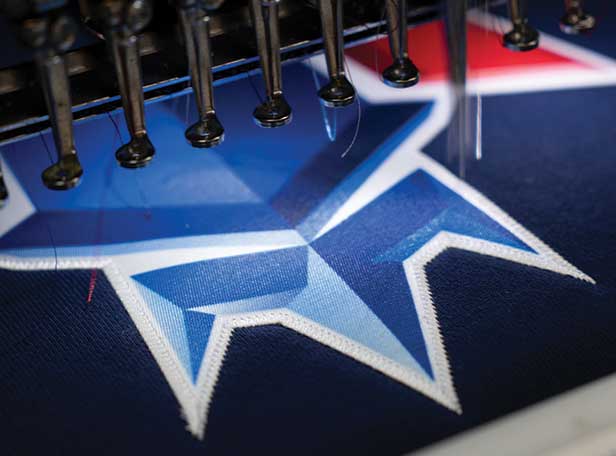
3. Secure the Print: Sew out a placement stitch first, then spray the back of the design with adhesive. Place the design on the garment, centering on placement stitch. Continue to run the program with a zigzag stitch to the outer edge of the design. Choose a contrasting thread color if you want the stitching to stand out, or stick with a neutral if you want it to blend in.
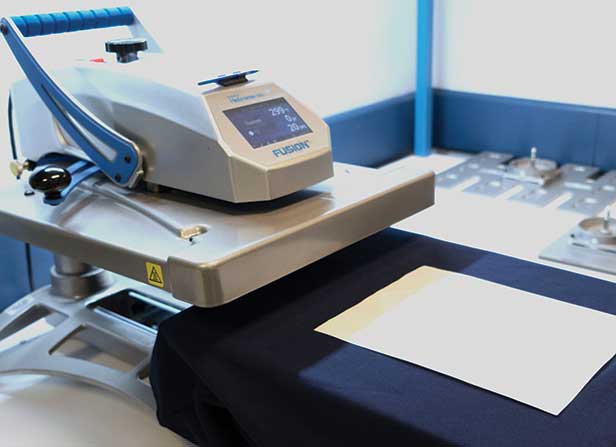
4. Press the Design: Remove the garment from the machine and disassemble the hoop. Remove any extra backing from the garment and place it under the heat press with the cover sheet on top. The heat and pressure (300 degrees Fahrenheit, medium pressure for 20 seconds) will permanently secure the design to the garment and finish your product.